


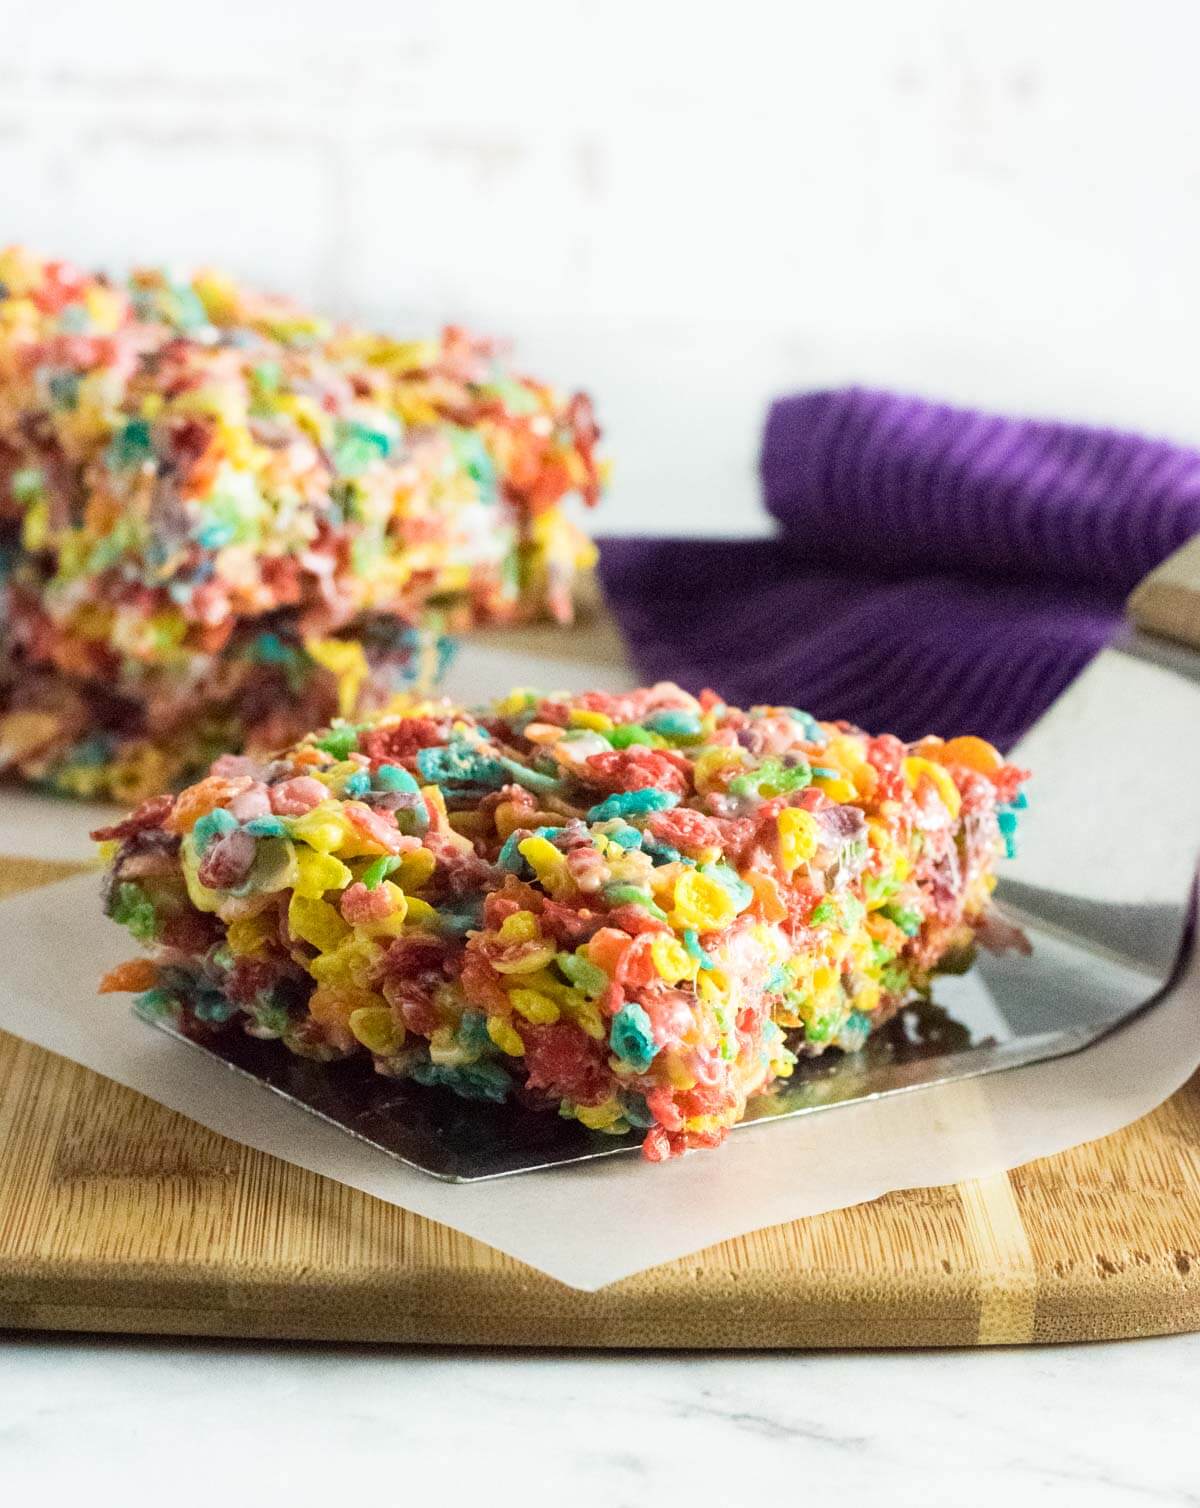
These sticky and delicious Fruity Pebbles Rice Krispie treats are a colorful alternative to the classic snack. This easy no-bake dessert is made in the same way as the traditional cereal bars using Rice Krispies, but uses only Fruity Pebbles cereal instead. Make these for a great after-school snack or special treat to pack in your kid's lunch box that you know they will love.
Calling this a Fruity Pebbles Rice Krispie Treats recipe gets a little long, even if it is necessary to help people recognize what we are making. So let's just call them Fruity Pebble treats for short! Regardless of what you call them, this is a fun treat for anyone to enjoy.
Ingredients Needed
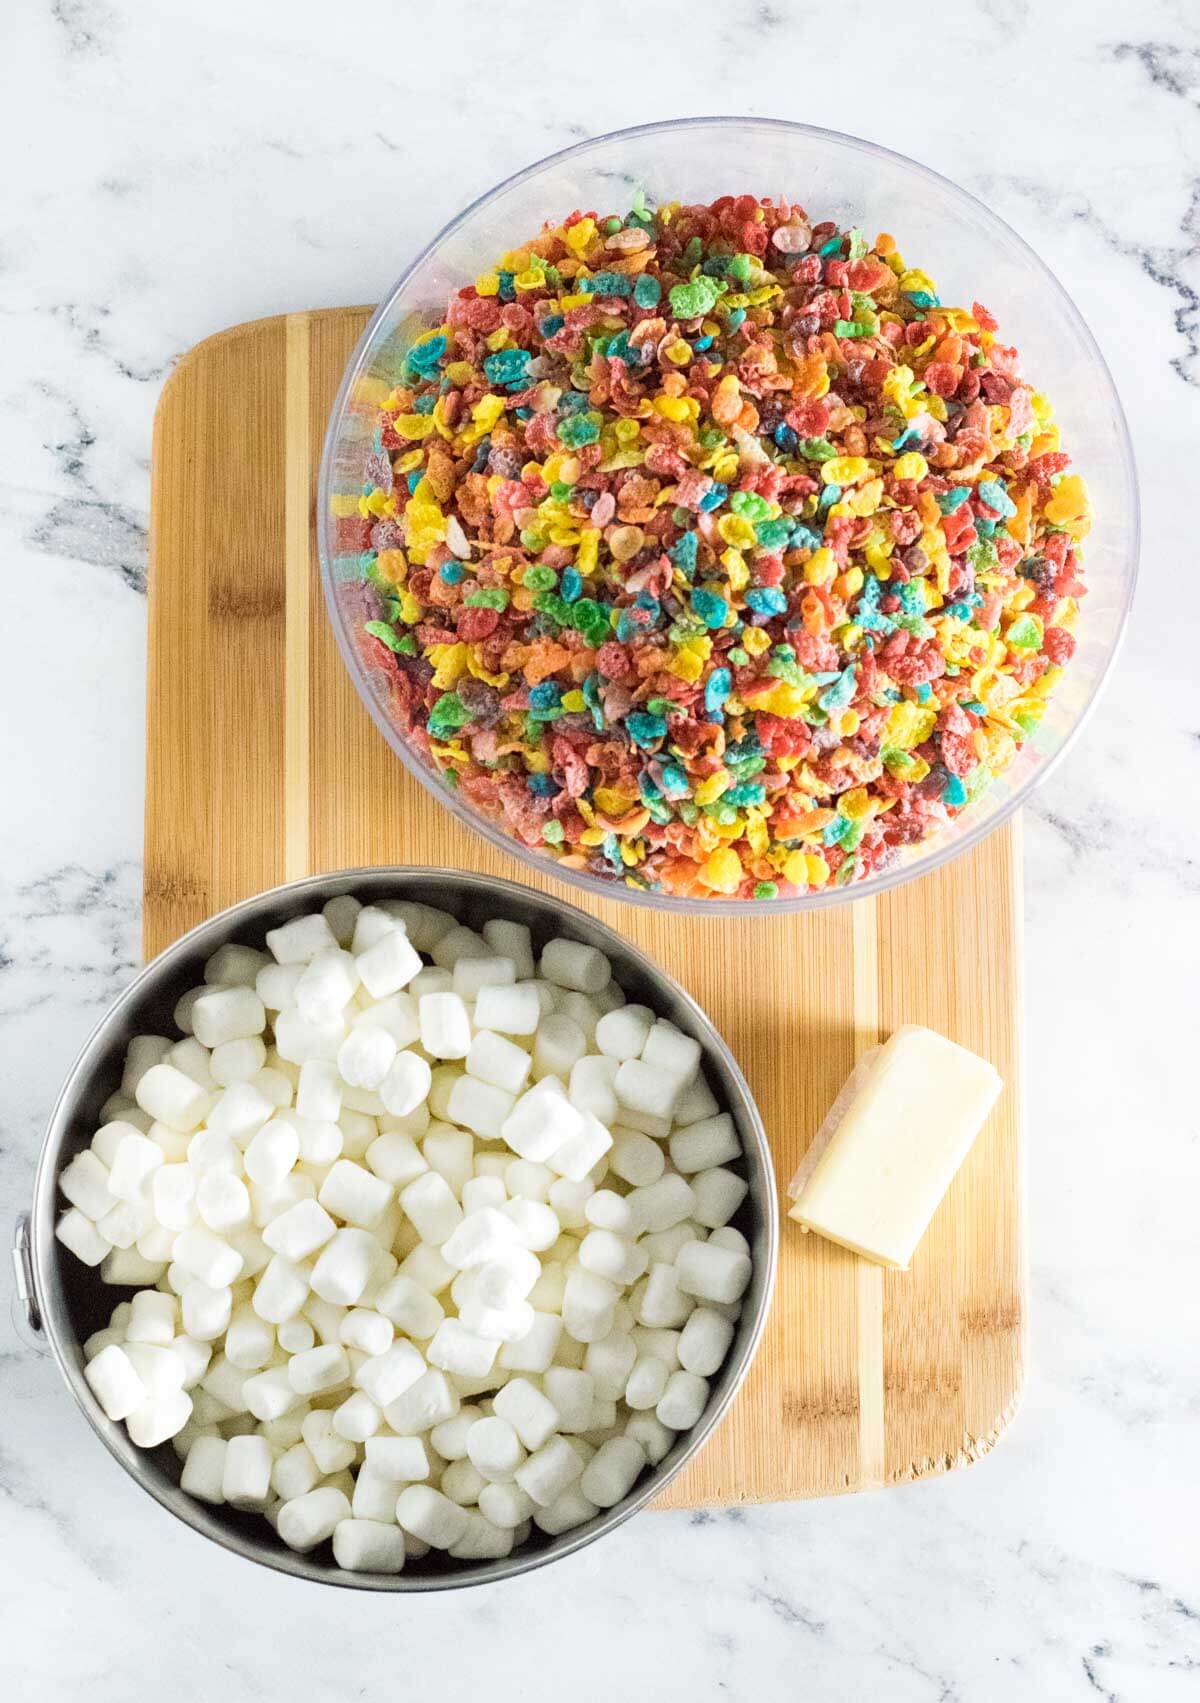
- Fruity Pebbles Cereal - You can make this same recipe with Cocoa Pebbles too!
- Marshmallows - Both regular sized and mini marshmallows will work. However, I find mini marshmallows melt a little faster due to their smaller size.
- Butter
- Vanilla extract
- Salt - A pinch of salt is my secret ingredient. A little bit really helps the flavor.
Tip: If you want your cereal bars to be less fruity and sweet, you can swap out Rice Krispies for some of the Fruity Pebbles. Personally, I love Fruity Pebbles, so I go for full effect!
How to make them
This delicious treat is easy to make with simple ingredients. However, I recommend reading through the instructions prior to starting because you want to work while the melted marshmallows are still warm and pliable.
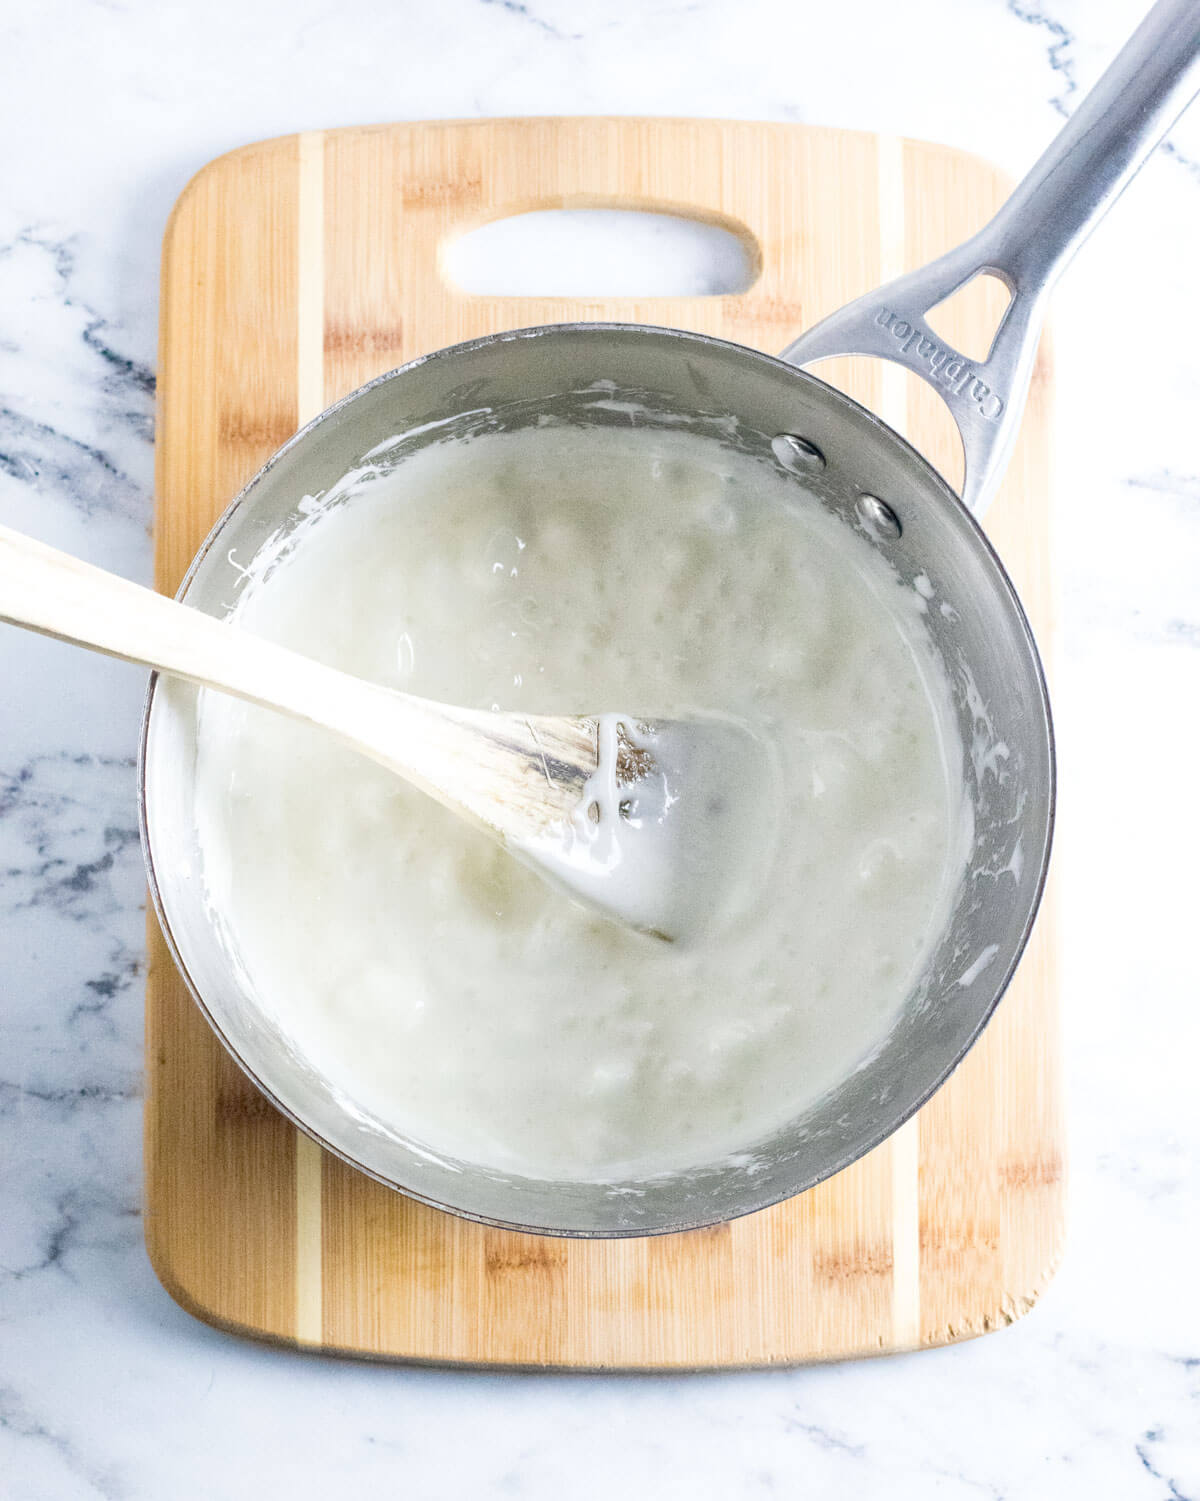
Stovetop method
Begin by melting the butter, marshmallows, vanilla, and salt together in a medium saucepan set over medium low heat on your stovetop. Gently stir the mixture with a wooden spoon as it melts to prevent scorching and ensure it is melting evenly.
Microwave method
Rather than melting the marshmallows, butter, salt, and vanilla on the stovetop, you can do this in the microwave instead. Using a microwave-safe container, cook them for 1 minute, then gently stir to combine. If needed, cook the marshmallow mixture for a short period of time if it needs further melting.
Is the stovetop or microwave method better? I recommend the stovetop method because you have more control over the cooking process. However, the microwave method still works well.
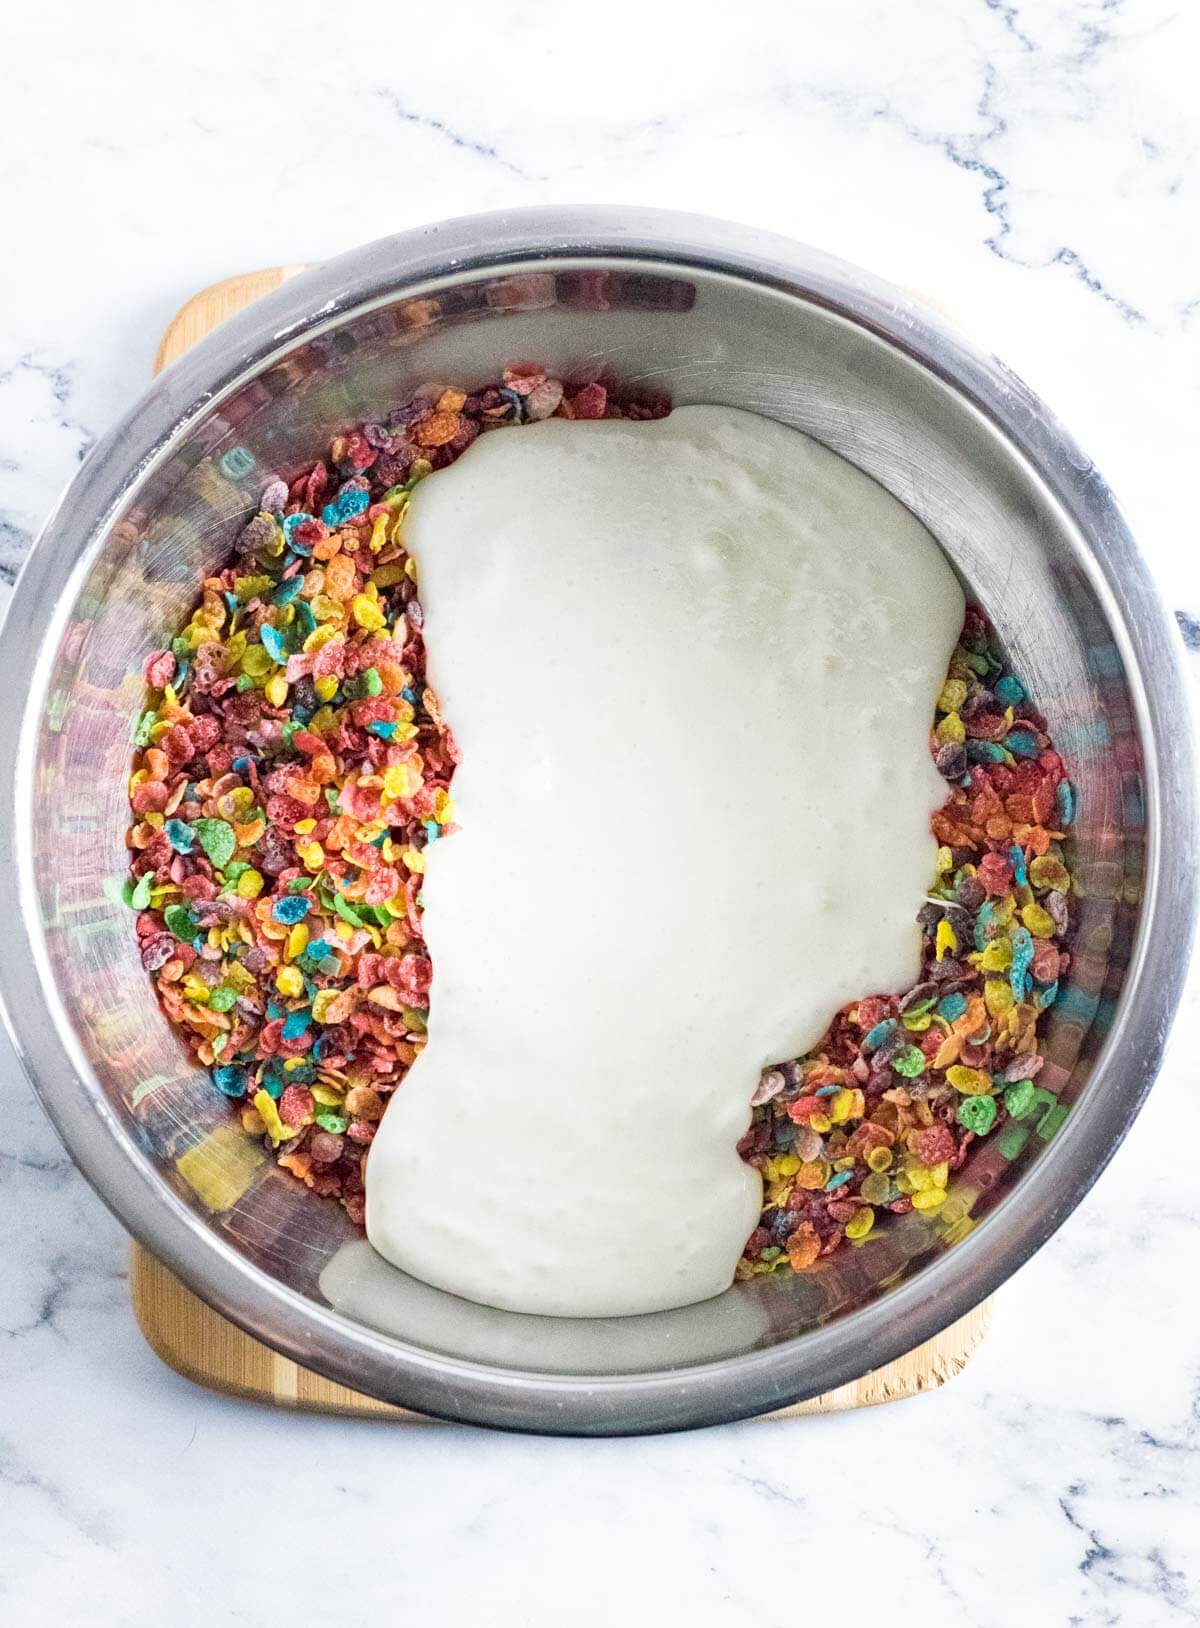
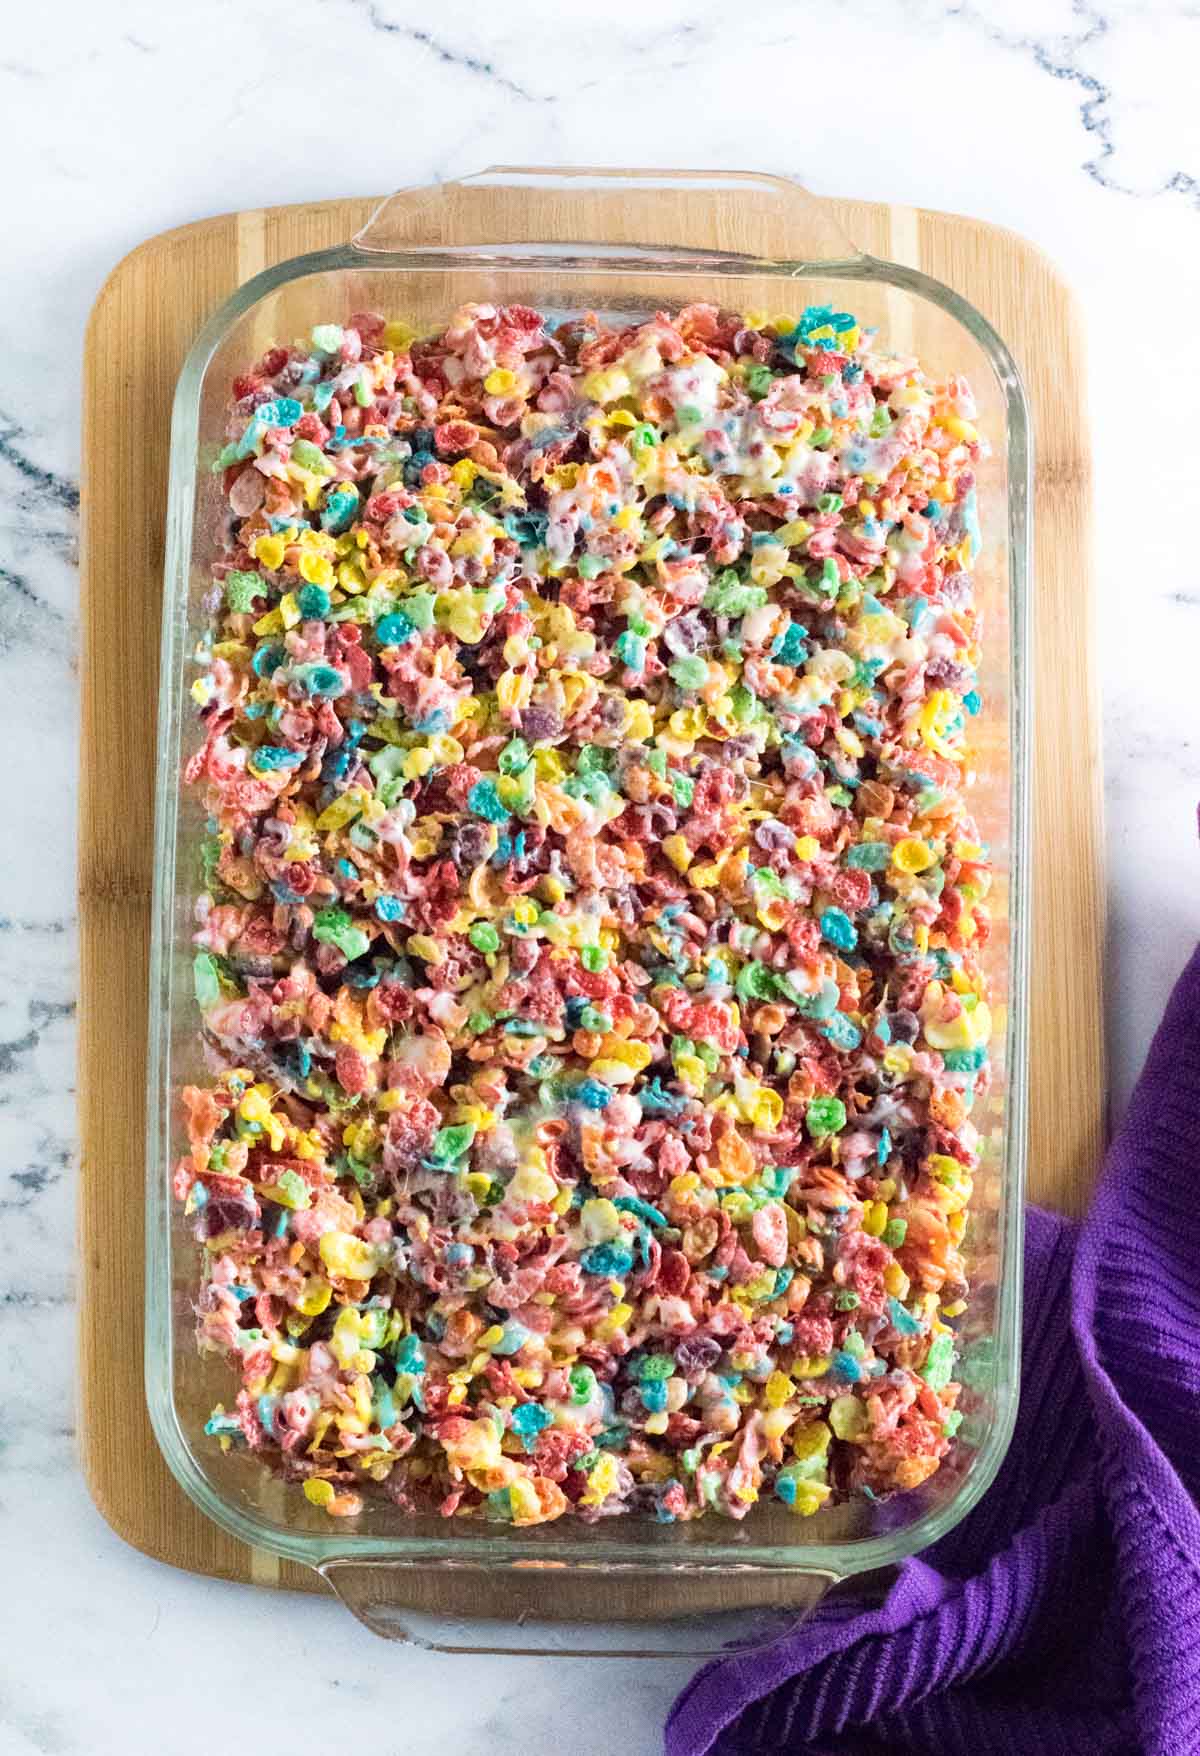
Next, place your Fruity Pebbles cereal into a large bowl. Once the marshmallows are fully melted immediately pour them in the bowl with the cereal. Stir everything to evenly combine the gooey marshmallow mixture with the cereal.
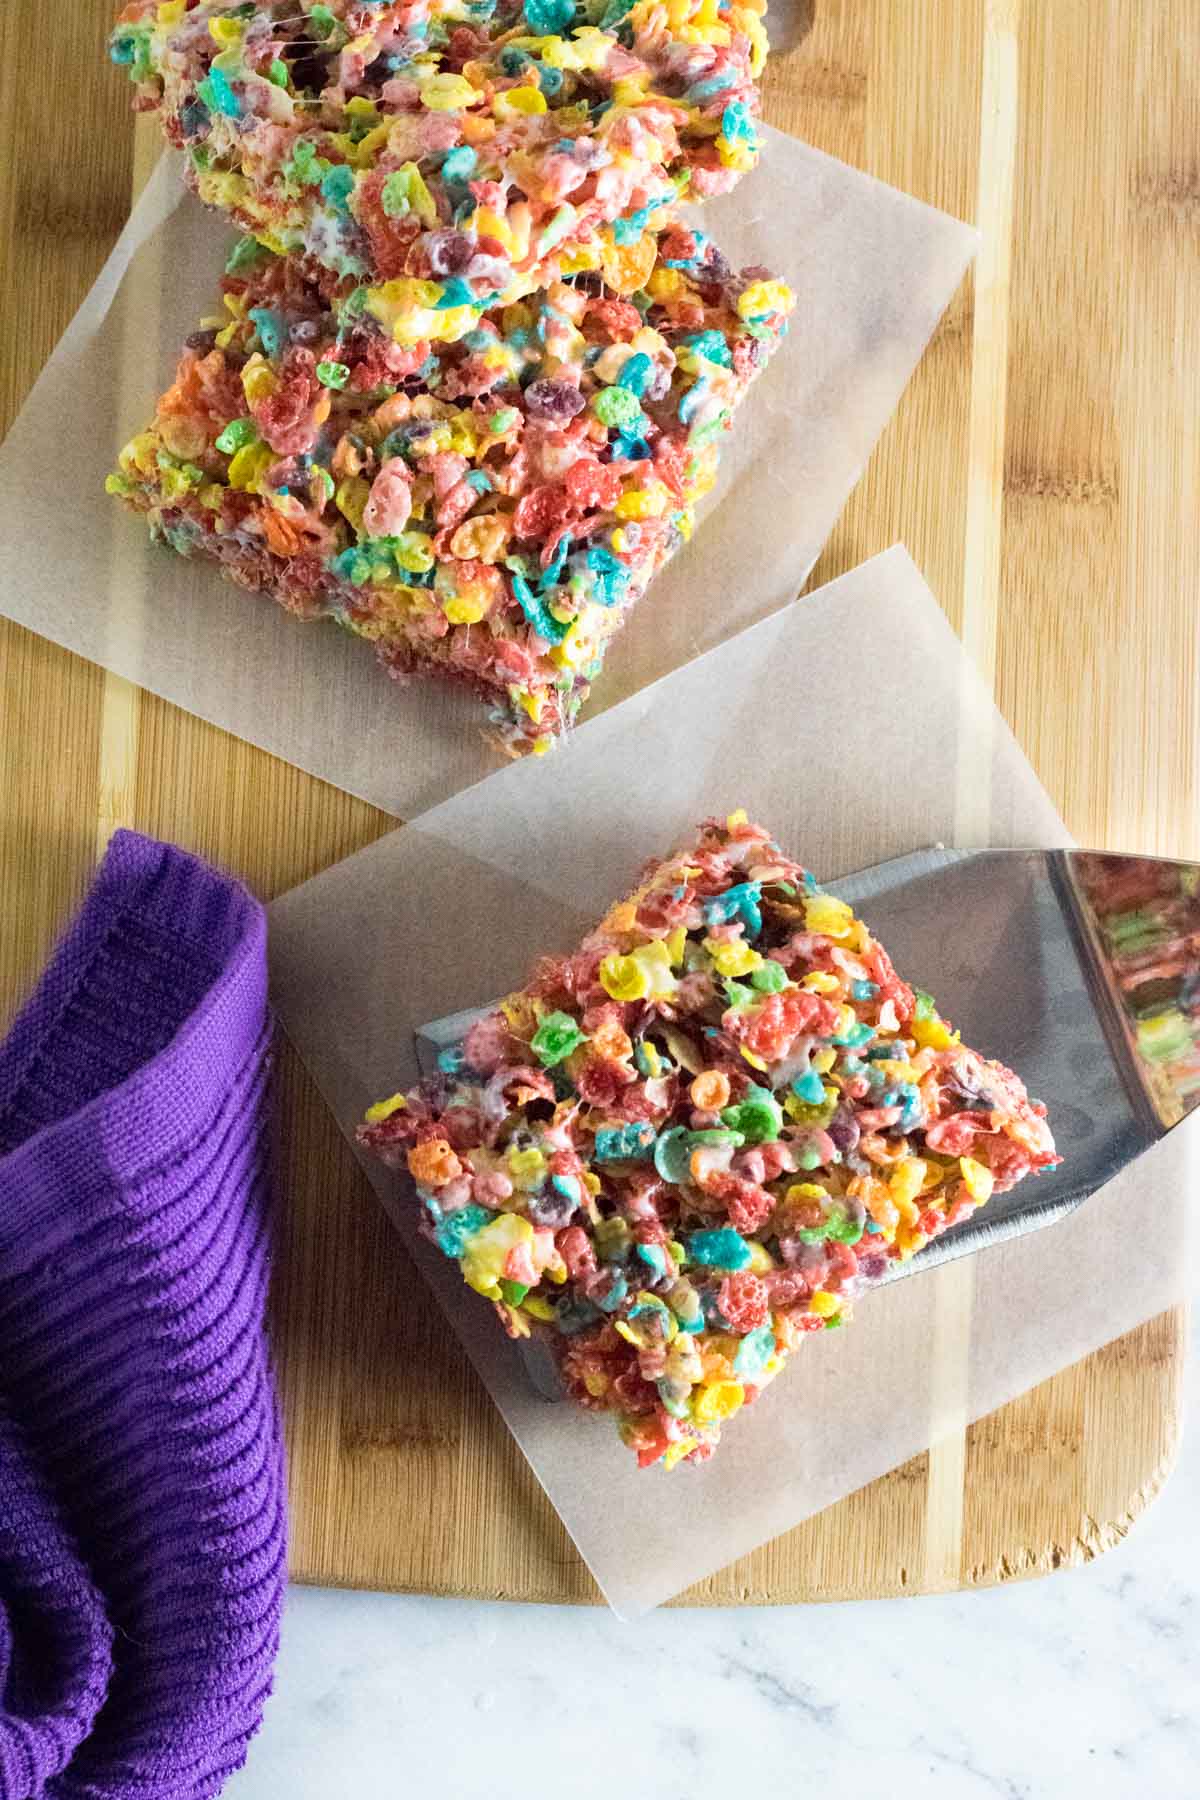
Once combined, transfer your Fruity Pebble treats into a small baking dish and press gently, but firmly to flatten into shape without crushing them. Let them cool, then slice with a butter knife or cookie cutter and serve.
Tips and Tricks
- I recommend greasing the dish for easy removal, or you can line it with parchment paper. You can grease it with the butter wrapper, or using a non stick cooking spray.
- Only press these cereal treats as much as needed to form them. Pressing them too hard will make them overly dense.
- For cleaner looking cuts, clean your knife off inbetween slices or the marshmallow will stick to the blade and make slices look more jagged.
- If you stack them together for storage be sure to separate them with wax paper so they don't stick together.
- These treats can be frozen for up to three months.
How to store them
Your Fruity Pebbles treats should not be refrigerated. Instead, simply cover them with plastic wrap, or place them in an airtight container, and set them on the countertop at room temperature to enjoy within a week.
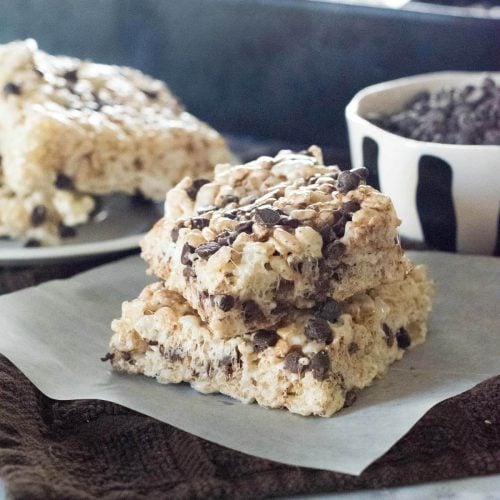
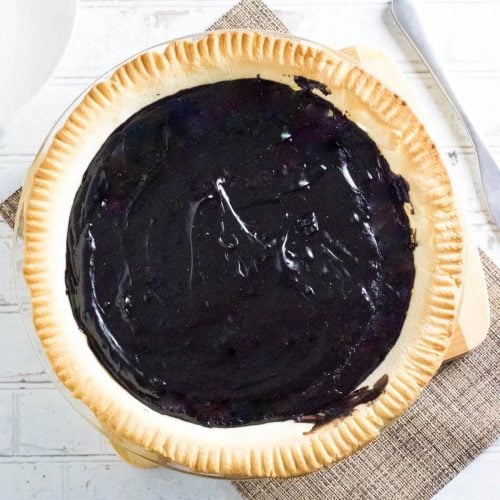
More Sweet Treats


Fruity Pebbles Rice Krispie Treats
Equipment
- Baking dish
Ingredients
- 6 cups Fruity Pebbles Cereal
- 10 ounces Marshmallows
- ¼ cup Butter
- 1 teaspoon Vanilla extract
- ¼ teaspoon Salt
Instructions
- Melt butter in a medium saucepan set over medium low heat along with marshmallows, vanilla, and salt. Gently stir to ensure even melting and to prevent scorching.
- Once marshmallows have melted into a creamy consistency remove the saucepan from heat and pour the marshmallow mixture into a large bowl over the Fruity Pebbles cereal.
- Using a silicone spatula, stir to combine the cereal mixture while the marshmallows are still warm and spreadable. Stir gently to avoid crushing the cereal as much as possible.
- Pour the treats into a greased 11x7 baking dish, and press mixture flat to fill the dish. Be careful not to over press them or they will crush into bricks.*
- Let cool, then cut and enjoy.
Leave a Reply